Assembling porcelain ball-jointed dolls
When I got interested in porcelain ball-jointed dolls, assembly was a great mystery for me. I knew that a lot of ball-jointed dolls were strung with elastic string, but porcelain dolls were different. Most artists used steel springs, and I couldn’t wrap my head around the techniques behind them. Today, I’m still trying to perfect my assembling methods, but I’m very close to finding a permanent way that works for my dolls. So keep on reading to see how to assemble a porcelain ball-jointed doll.

Attaching suede
Porcelain dolls need a leather lining inside the joint sockets for smooth and graceful movements. Leather is used most commonly, but faux leather is also a good option. Porcelain rubbing against porcelain produces a horrible sound, as well as too much friction that needs to be leveled out.
I made a stencil, so I wouldn’t need to figure out shapes for lining each time.

Attach the fuzzy part of the leather to the porcelain so the smooth and shiny side of the leather would be on top.
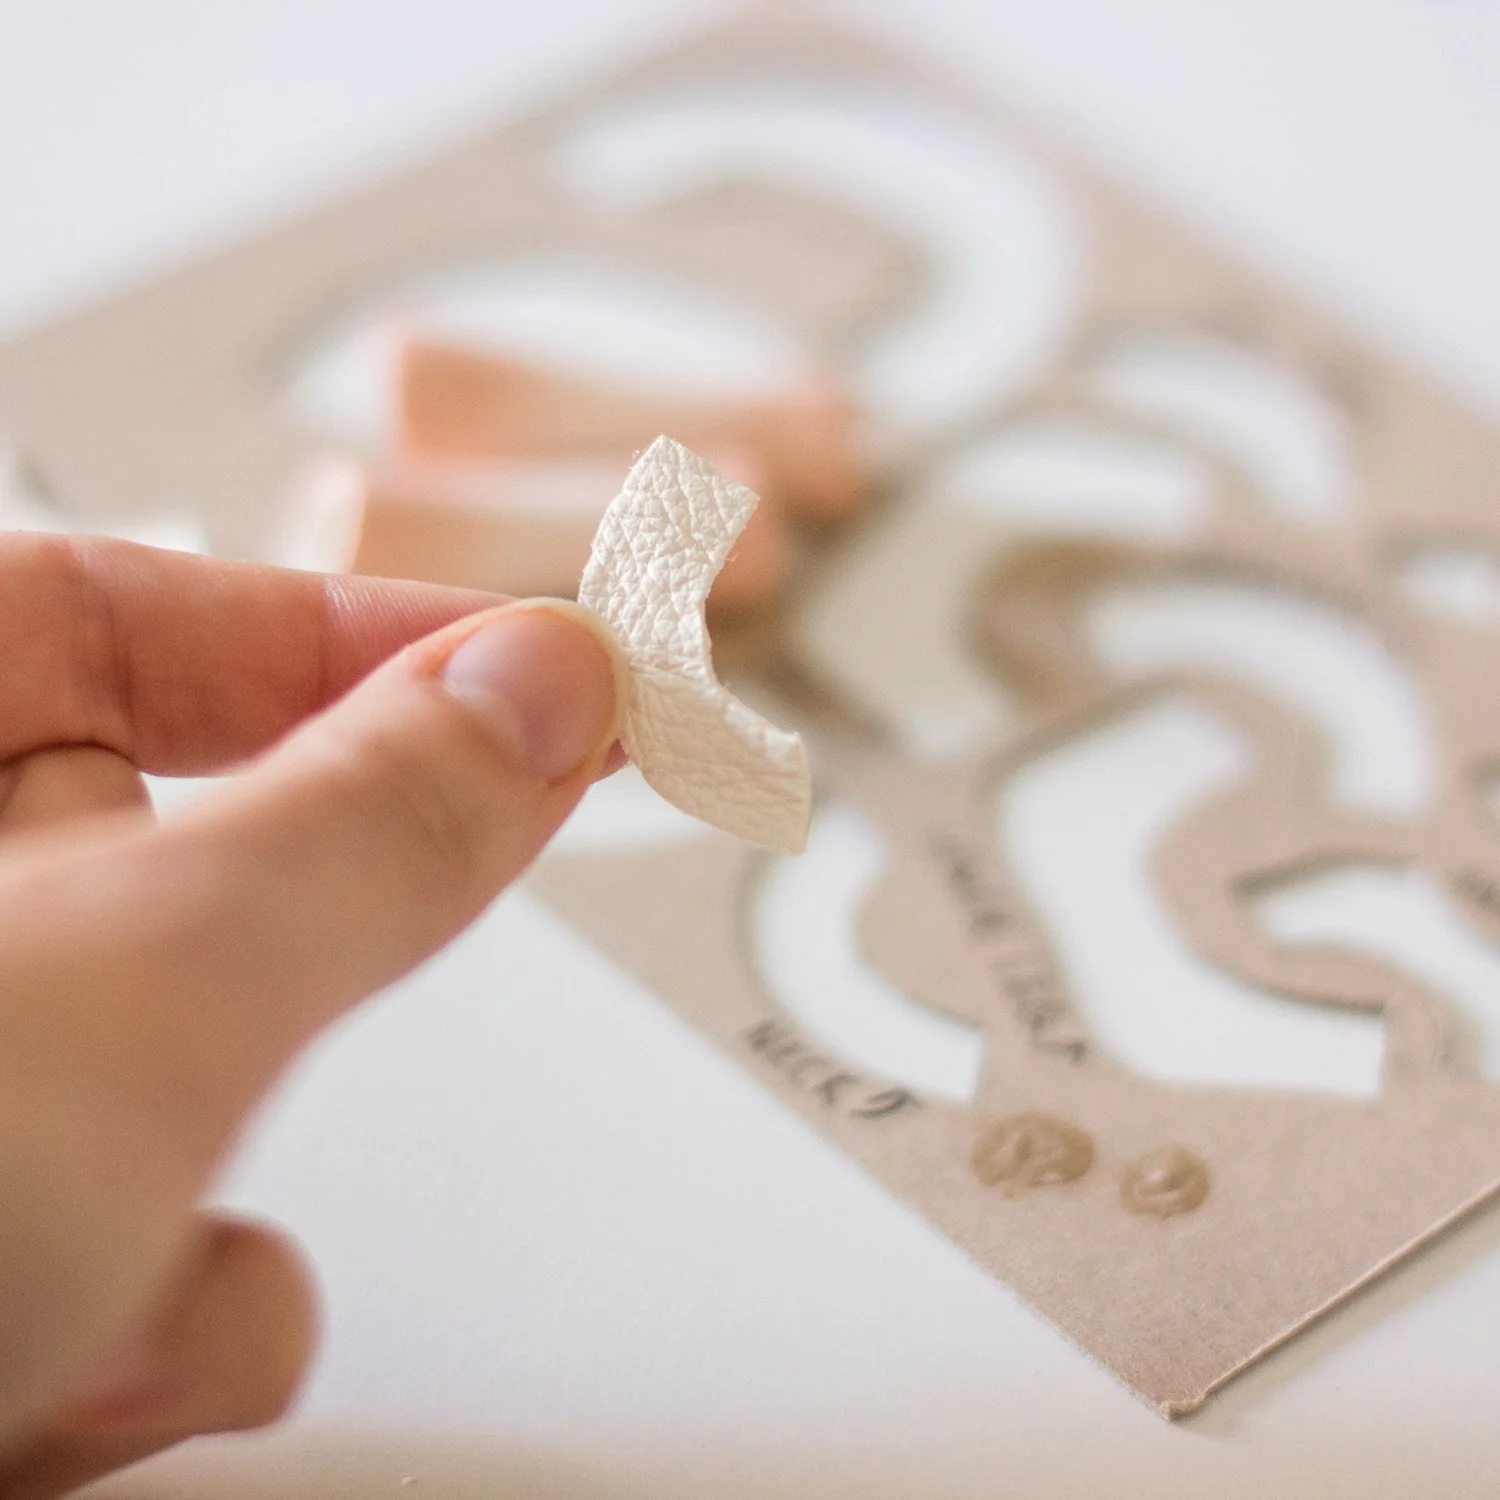

To attach the leather lining, I use super-glue, but any quick-drying glue would work.


Materials
To assemble porcelain BJD, you’ll need steel springs, swivels, and strong, stiff wire. I get most of my assembling supplies here.
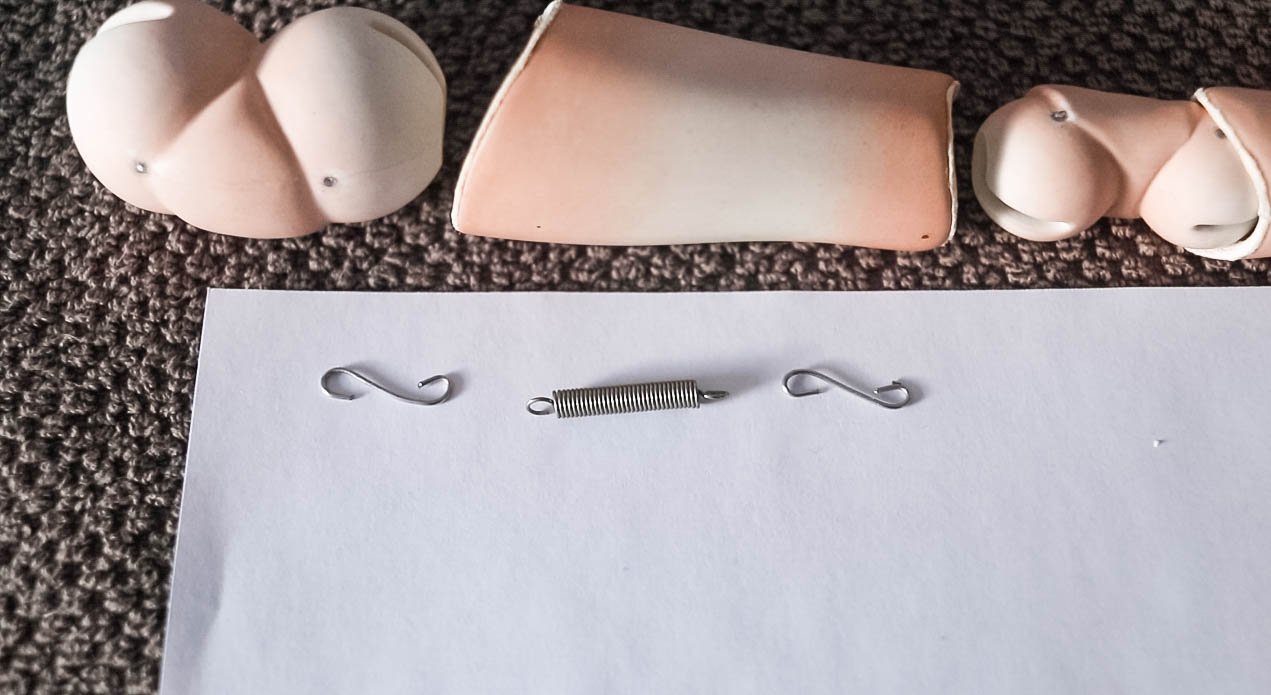
You can purchase S-hooks too, but I feel I get more control if I make them myself. Usual S-hooks work great for dolls strung with elastic, but I found that if I’m using steel springs, I need elongated S-hooks. They align with slits and provide smooth movements.
Remember that every doll is different, so assembly will look different for you. You will need to find your own scheme with the springs you’re using. You might need specific tension, more or fewer springs than shown here.
Assembly
I start by assembling arms. Here you can see that I use two different springs, longer S-hooks for the elbow joint and smaller S-hooks for the wrist and the shoulder. If your doll is larger, you might need to add swivels into the mix.
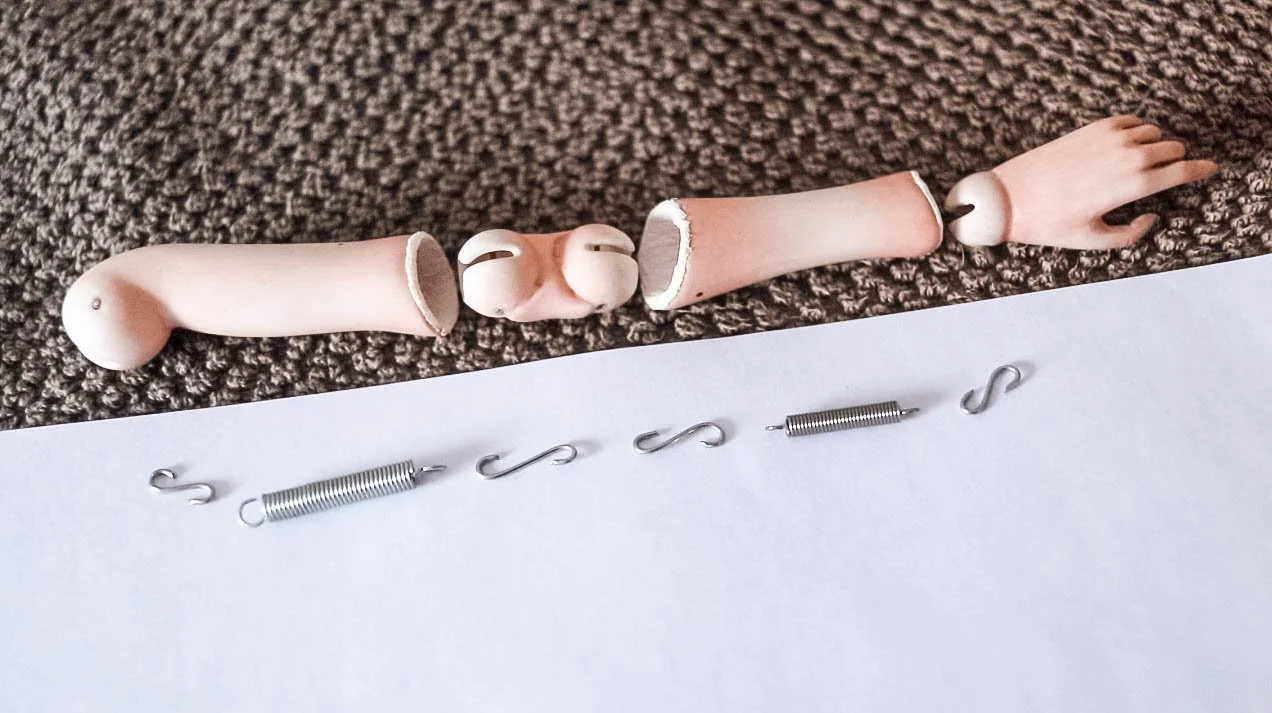
I start by connecting the forearm and the hand to the lower part of the elbow. Then attach the upper part of the elbow to the shoulder.


Legs are assembled similarly to arms. The only difference is spring size and the addition of swivels in the lower part of the leg. Swivels help to elongate the spring and keep the same tension.

For the upper part of the leg, I don’t use swivels. I make a very long S-hook to attach to the lower part of the hip. You’ll need to experiment with what will work for your doll. I find that one stiff spring has enough tension to keep the leg straight without rotating or bending when I don’t need that.
As with arms, I start assembling from the lower part of the leg.

Next, I connect both arms to the upper torso using one small spring and two S-hooks. Start by attaching S-hook to the left shoulder, add a spring, and thread it through the torso. Then pull the spring through the right arm socket and connect to the S-hook in the right shoulder.


To attach the legs, I make two long S-hooks for the hip joints. Then add two small springs to each of them that connects to one swivel. Any additional springs will be for the torso and the head. In the picture, you see only one, but I added two springs for the whole torso.


To make things easier, I thread the whole thing through the torso and connect the legs.

When the legs are attached, pull the springs through the torso and thread them through the upper torso. I’ve seen some artists add a metal bar to the lower torso as well. So you could attach the springs there instead of pulling them all through the neck.

I pull all the springs through the neck, attach a small S-hook and then pull it through the head and secure it with a metal bar. In the future, I want to fix the metal bar inside the head so it would stay hidden, but for this doll, the wig will hide it nicely.


And here’s she all assembled and posing very well. I hope this will be helpful and make your own experiments easier. When you figure out what stringing system your doll needs, it all becomes more effortless, and you can use the same technique for all your dolls.

If you want to watch the full video of how I assembled this doll, consider joining my Patreon. All video tutorials are available from Apprentice ($5) tier.