
Painting doll faces, tips and tricks
After sculpting the doll face you’re happy with, there’s another hurdle to overcome - bringing it to life with painting. I see some doll makers and students of mine struggle with this. Painting could make your sculpture look livelier, more realistic. So how to achieve that? Today I want to share some tricks which will make painting doll faces easier and more fun!

This post contains affiliate links and I will be compensated if you make a purchase after clicking on my links. I wouldn’t promote anything I don’t absolutely love!
Layers
It doesn’t matter what dolls you paint or what supplies you use. The main rule is to paint in layers. This prevents the sculpture from looking flat and maintains the depth of color. To paint in layers, you should use translucent paint as China paints for porcelain dolls, or soft pastels and watercolors for resin, air-dry clay dolls. The main goal is to build up the color with each layer and let the previous layers shine through. Sealing each layer is also crucial. If you’re painting porcelain dolls, fire every new layer of China paints in the kiln. To paint one face, you might need 6-8 layers total. If you’re using other mediums like soft pastels, seal each layer with matt spray varnish. This way, the color will get brighter, and you won’t lift previous layers when painting on top.
Eyes
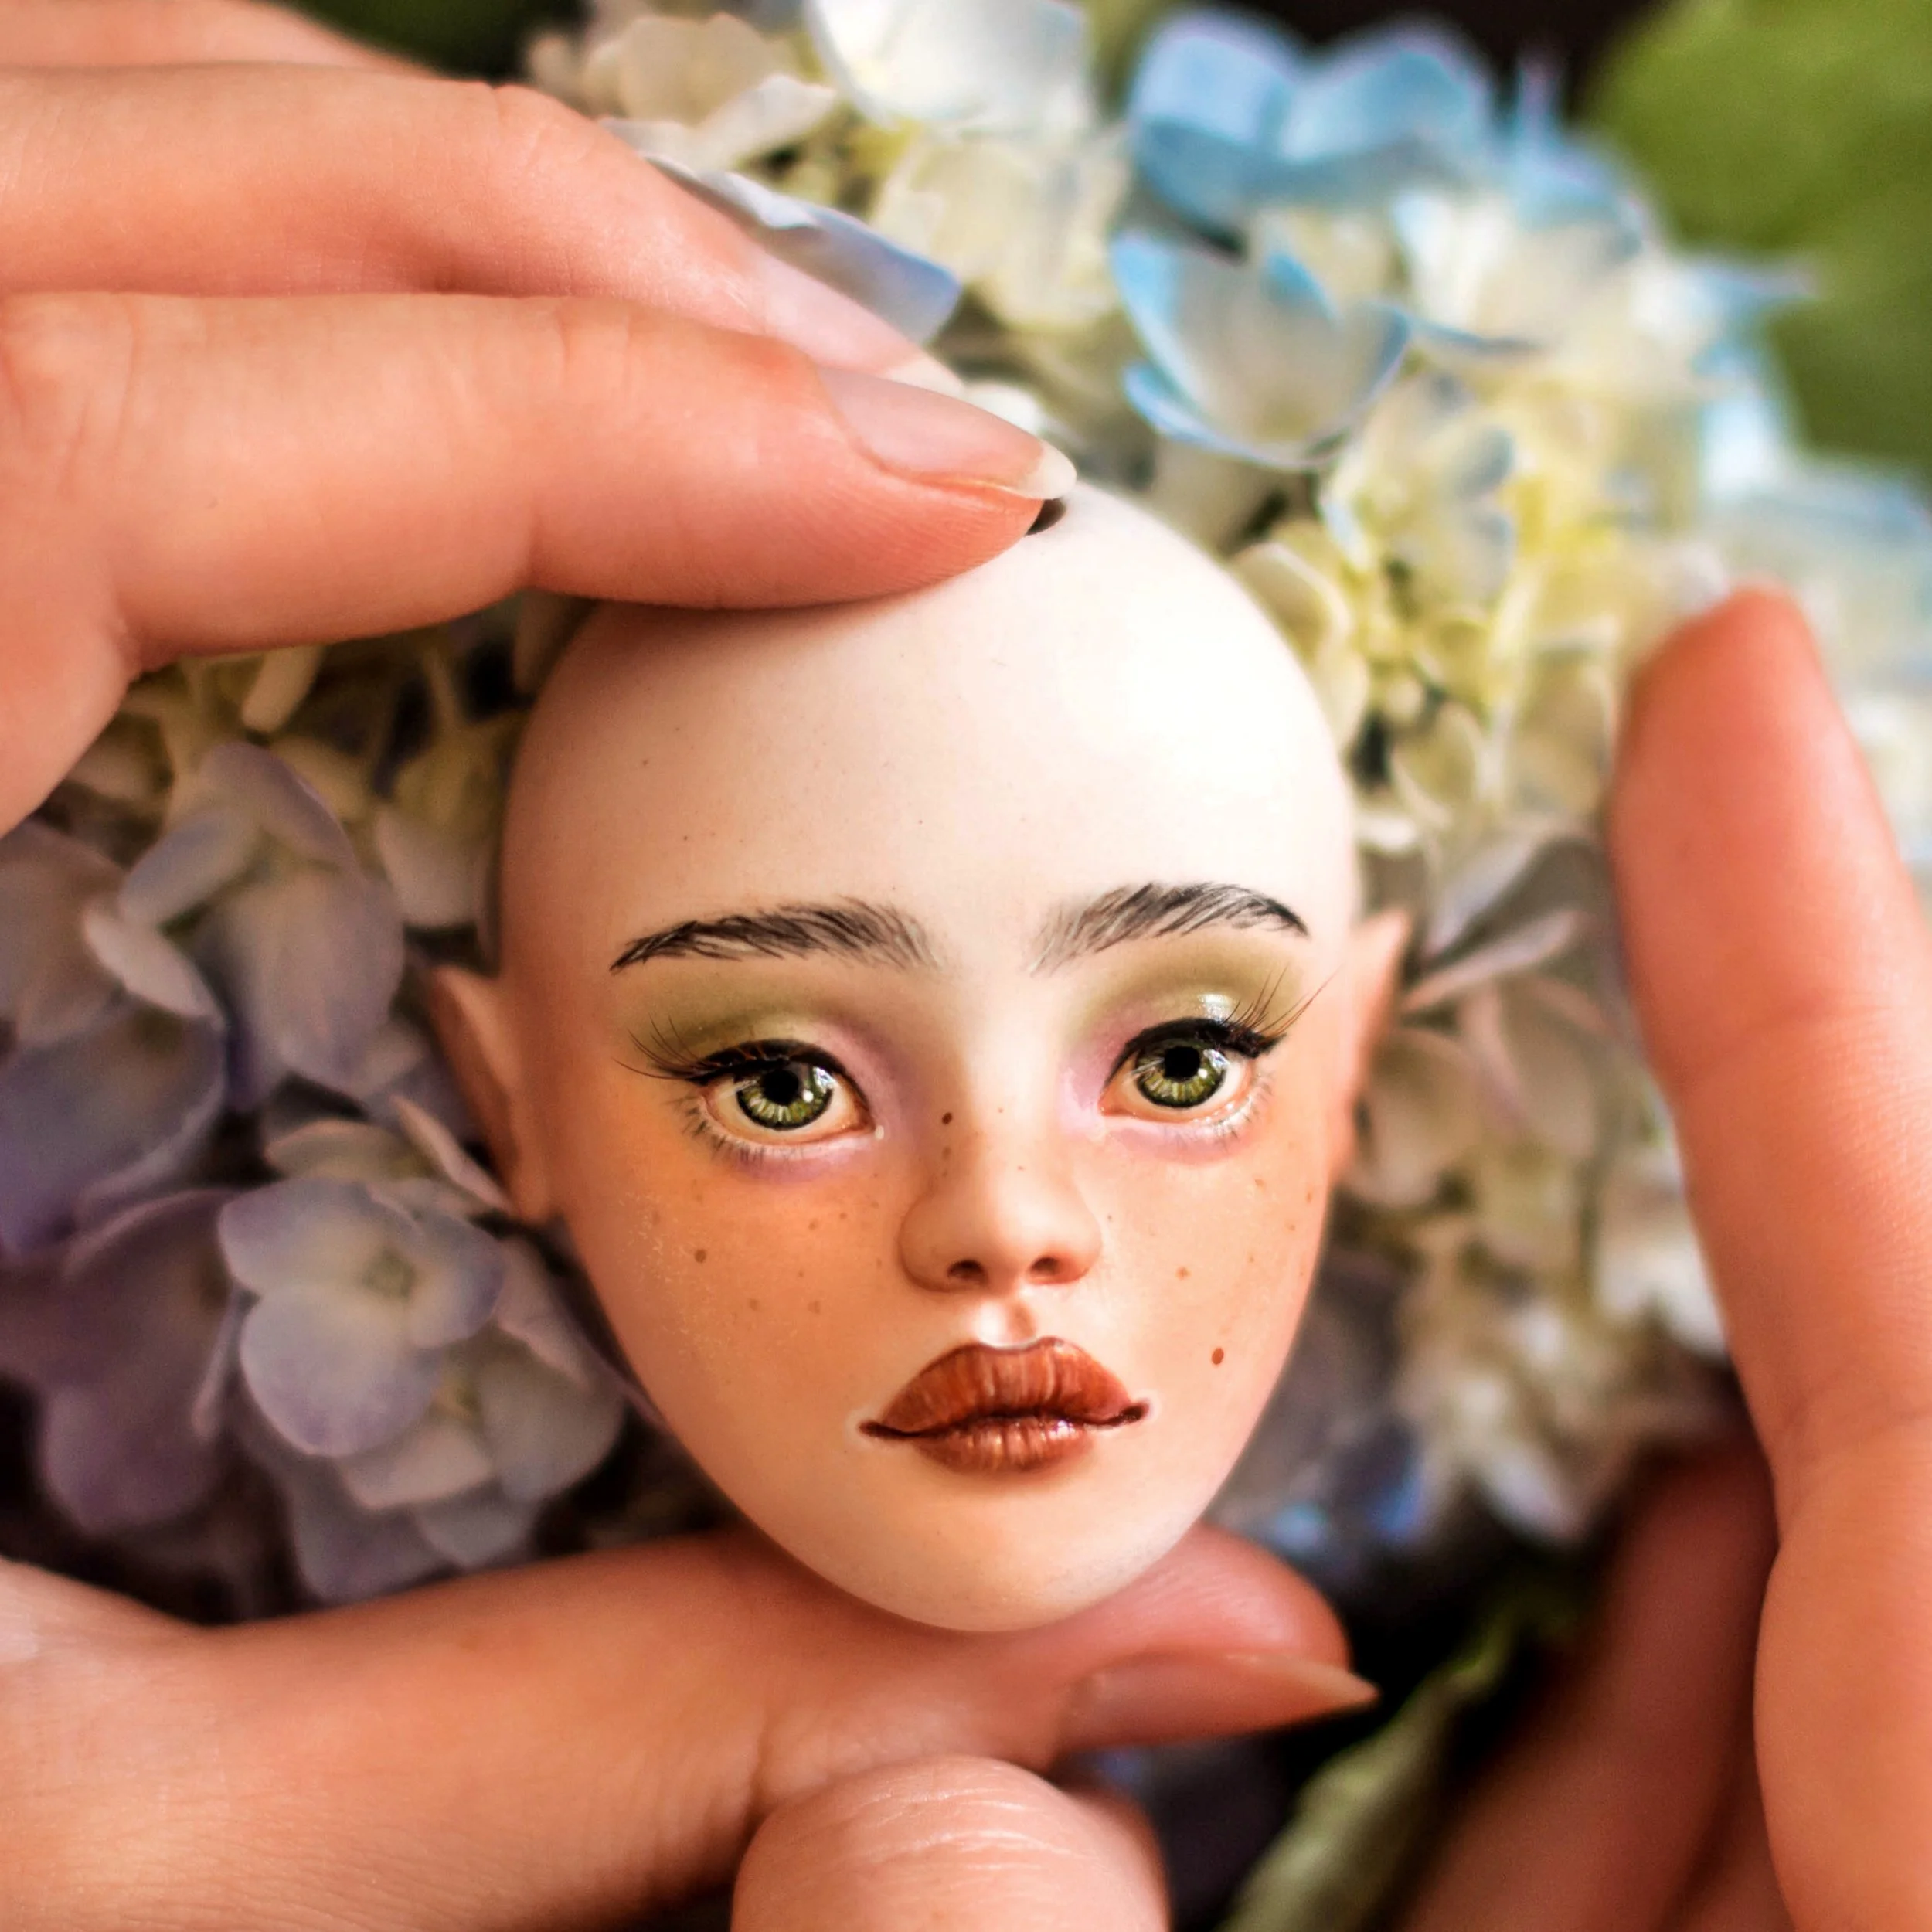
What helped me paint more lively and realistic eyes was understanding that every eye has an illuminated and shadow area. Study illustrations and photos of eyes to see how shadows and highlights create depth. Drawing tutorials can be helpful with that too!

Photo by: Alice Catrinel Ciobotaru www.design.tutsplus.com
Here’s where the painting in layers helps a lot. I start with a base color of an iris. With each layer, you can develop the makeup of the doll as well. Or add shadows and deepen the skin tone around the eyes.

Photo on the right: Steve Jung Art @stevejungart
Add a black pupil almost in the middle of an iris. It can blend into the shadowed area a little bit. Paint in small strokes or even dots to create an intricate texture of an iris.
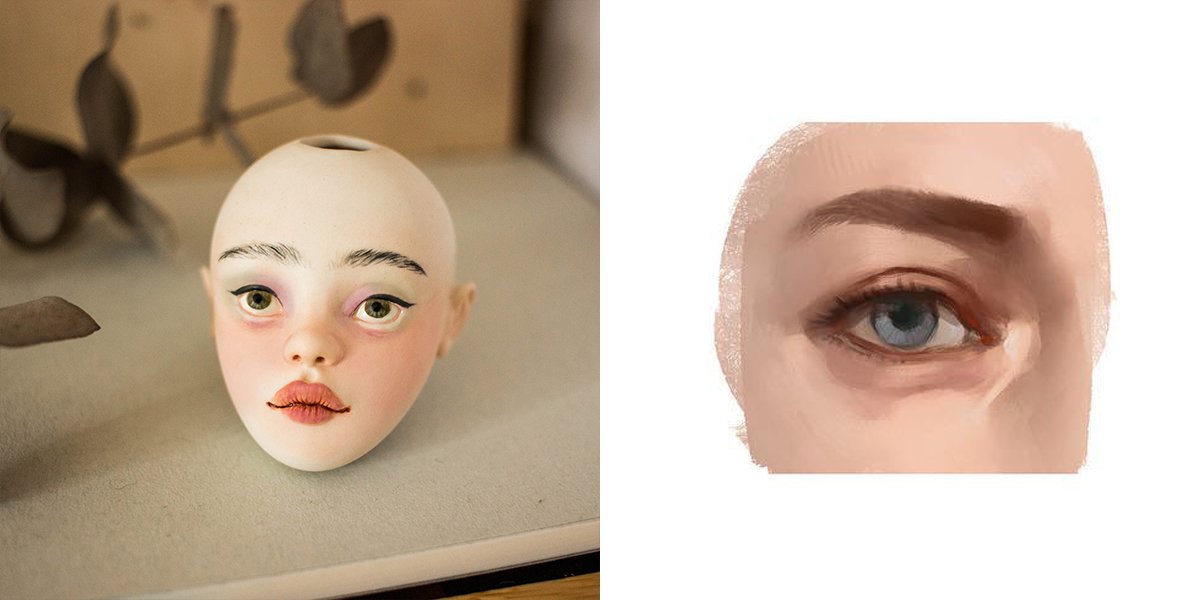
Photo on the right: Steve Jung Art @stevejungart
Remember that the lower part of an eye will always be brighter than the shadowed top part. With that in mind, add some highlights and brighten the eye color using lighter paints. The darker contour around an iris will make the eyes pop.
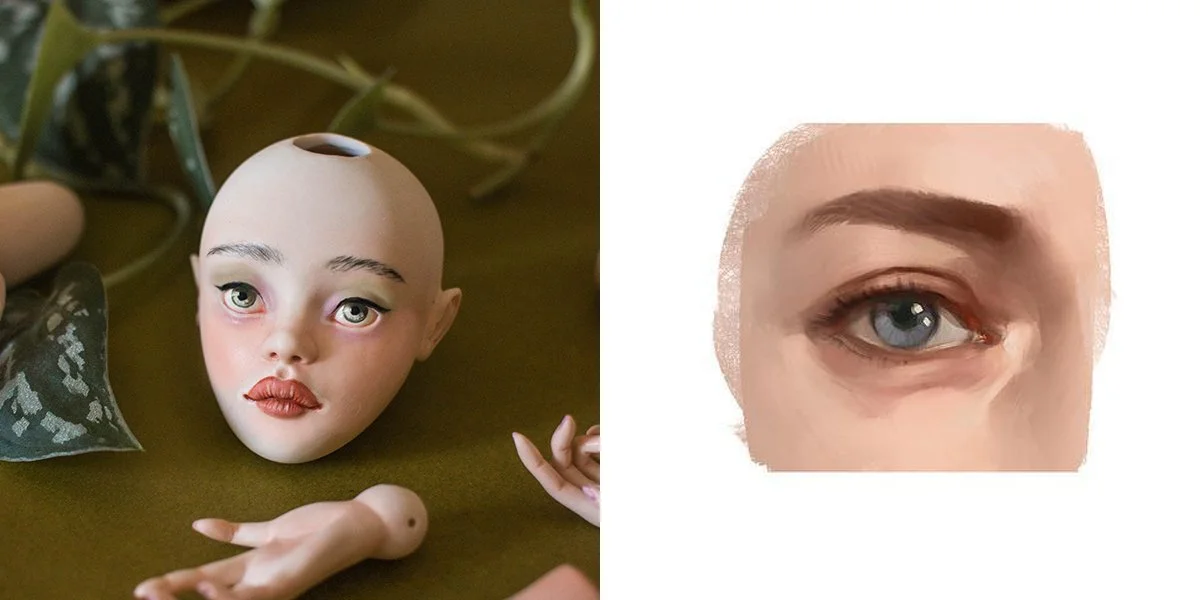
Photo on the right: Steve Jung Art @stevejungart
Eyebrows
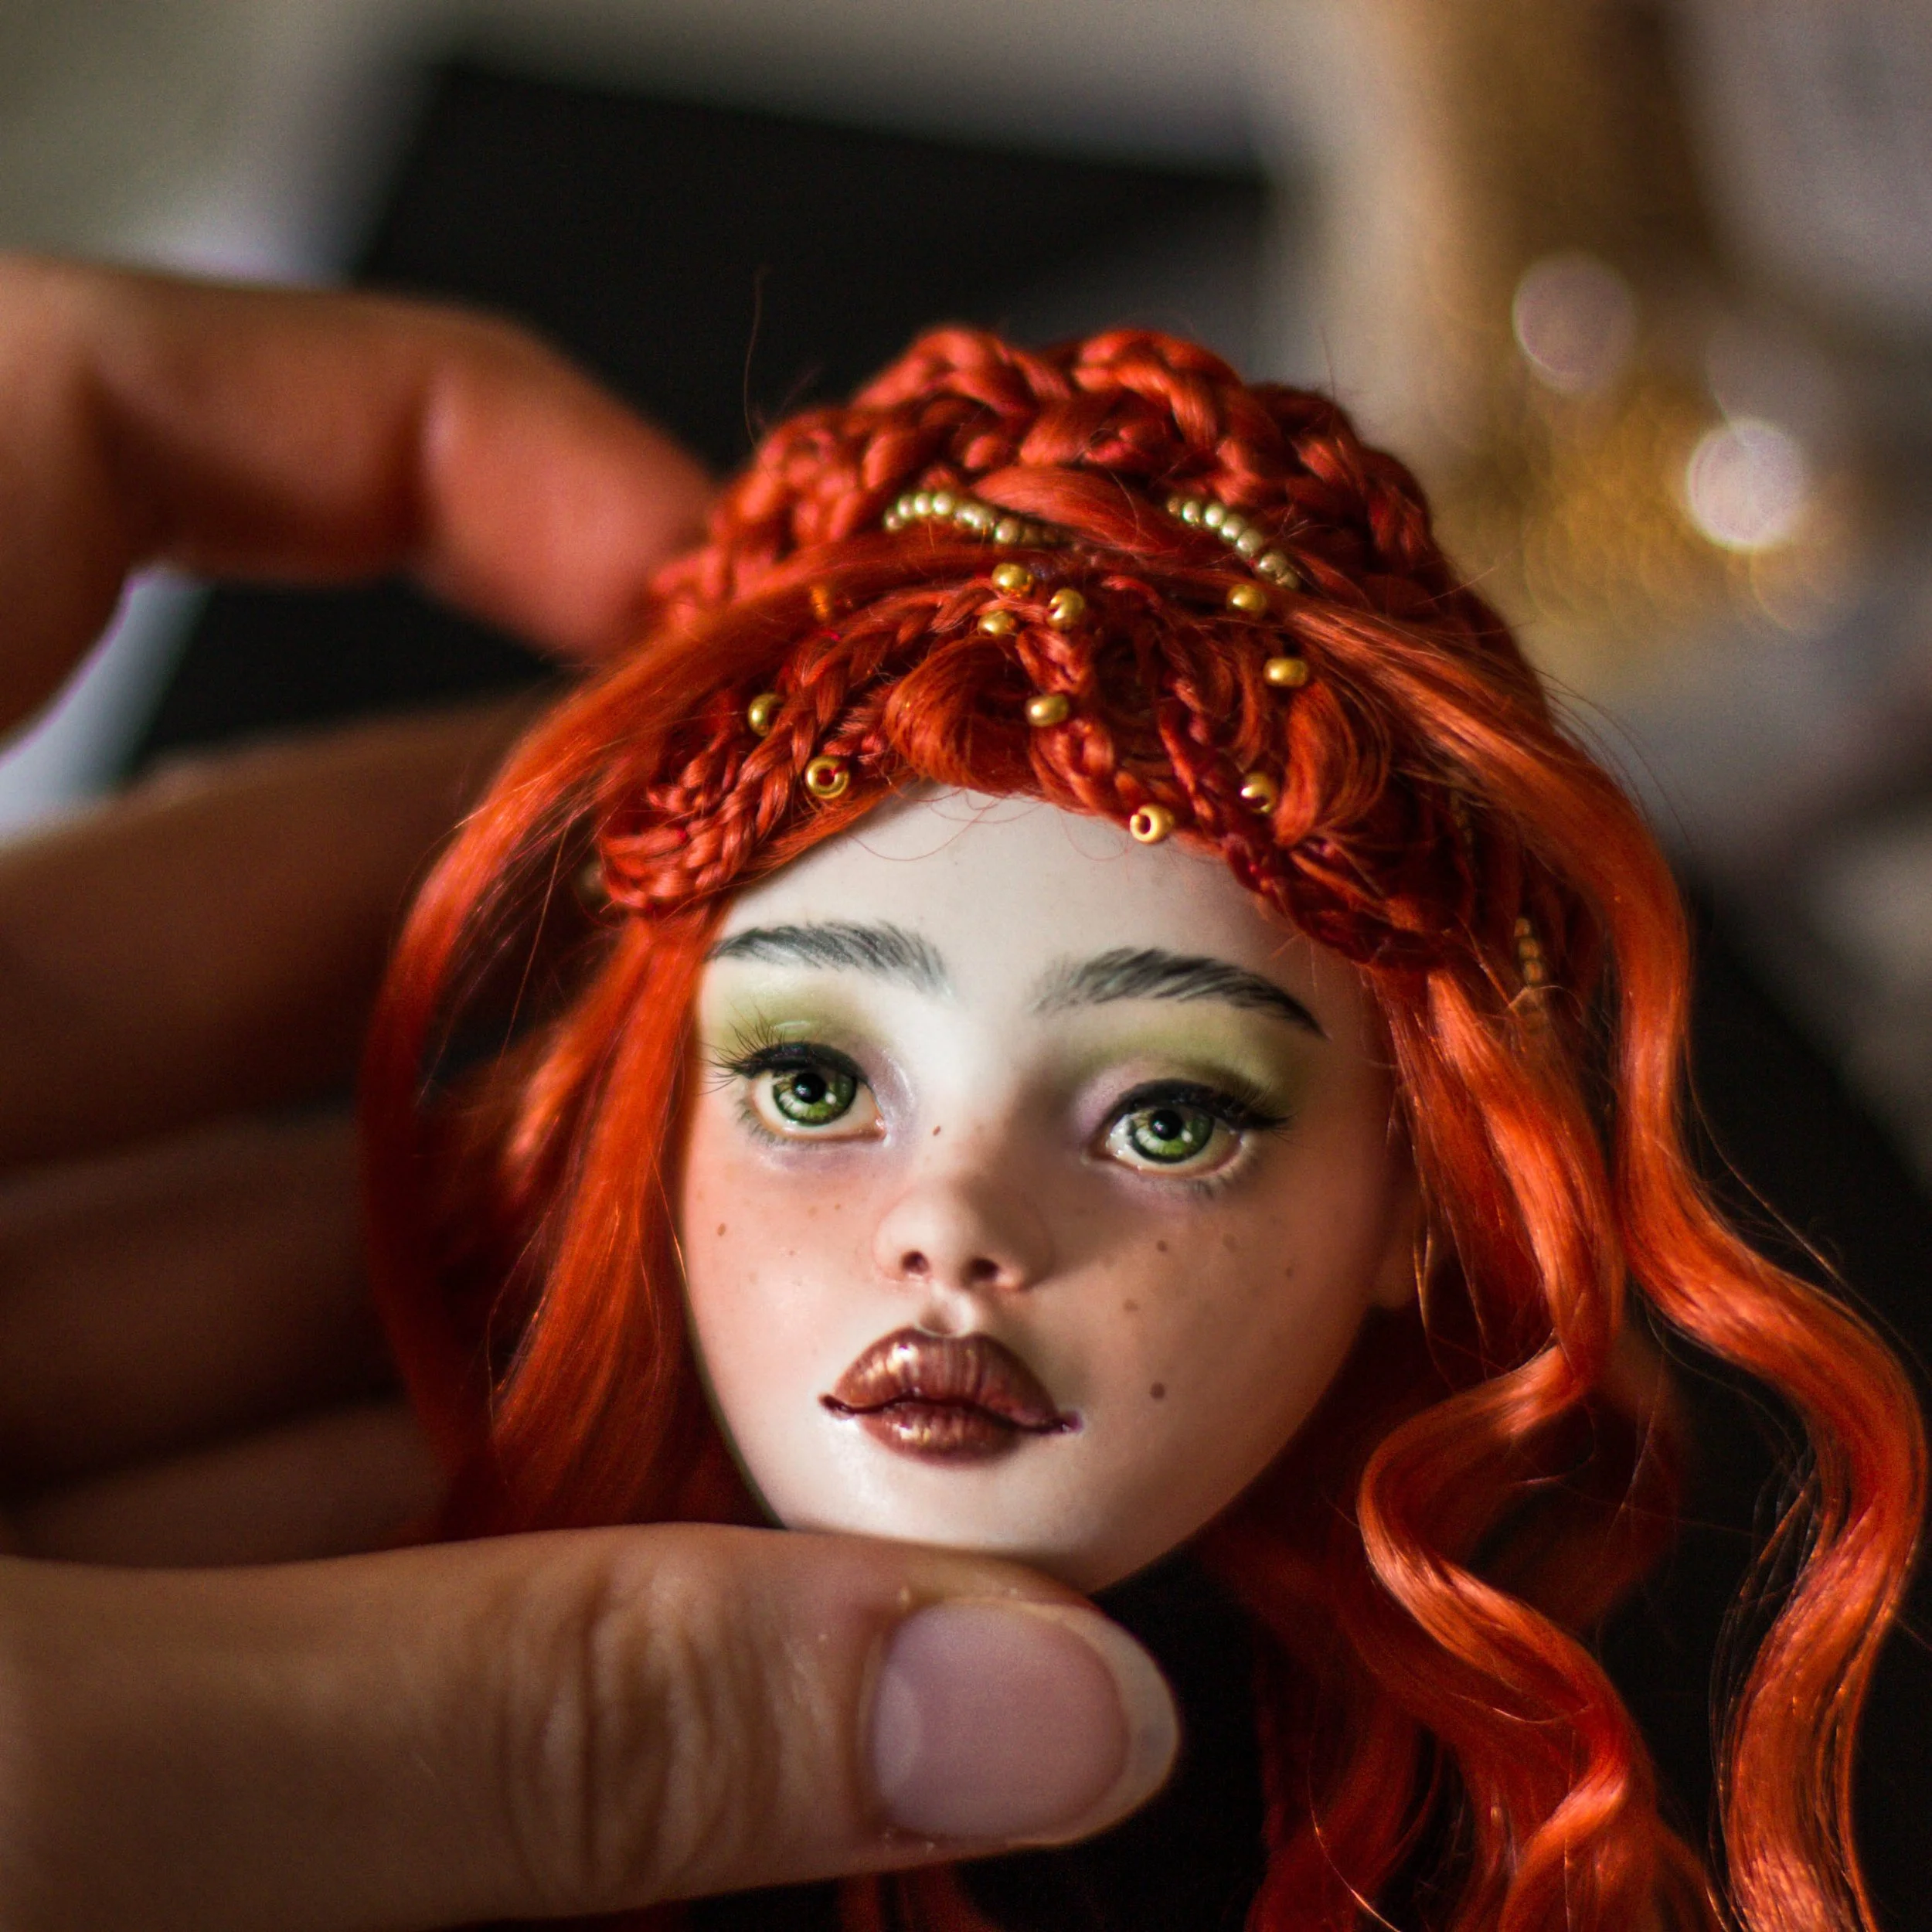
The main issue I see with the painted eyebrows is not trying to define individual hairs and ignoring the direction they’re growing. I found these magnificent charts that show how intricate the eyebrows can actually be. I’m not saying to paint every little hair individually if your doll is small, but try to include specific brush strokes to mimic the hairs.

Photo: MAY beauty academy and Pinterest
You can start by adding a soft shadow where the eyebrows will be. This will help to define the shape later. Invest in a very thin, long bristles brush. It helps create very fine brushstrokes that look just like individual hairs. Layering the hairs - define the eyebrow. When painting the hair, start at the root from where it would grow, and with a quick but intentional stroke, paint to the direction it’s growing.
Lips
When painting lips, I like to start with a general color and shadows. Remember that the upper lip will be darker because it’s in the shadowed area. It should happen naturally if you’ve sculpted the upper lip protruded enough. But you can add deeper colors as well to enhance that feature.
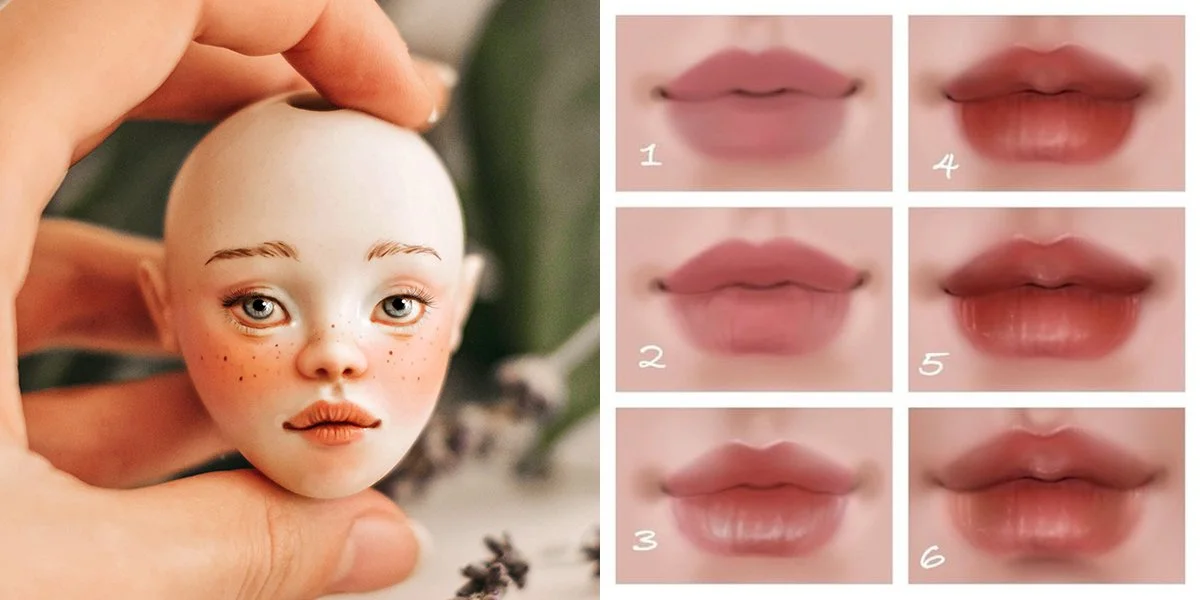
Photo on the right: Pinterest
When adding highlights, imagine where the light hits the lips. It’s always on the upper lip near the cupid’s bow and the lower lip in the middle. I like to add some highlights around the corners of the lips too. Painting in small strokes can enhance the natural texture of the lips, so consider adding strokes where you can.
General blush
General blushing can give a lot of definition to the face. There are no hard rules on how to do it, but I like to add some color to the shadowed areas and somewhere on the cheeks. So I usually use blush around the eyes, under the lower lip, around the ears, nose, and temples. To keep things natural, don’t overdo the color. I find that two layers are generally enough to build up the definition.
I hope these tips were helpful. I’ll make sure to do a full tutorial in the future, but for now, keep experimenting and remember - always paint in layers!