
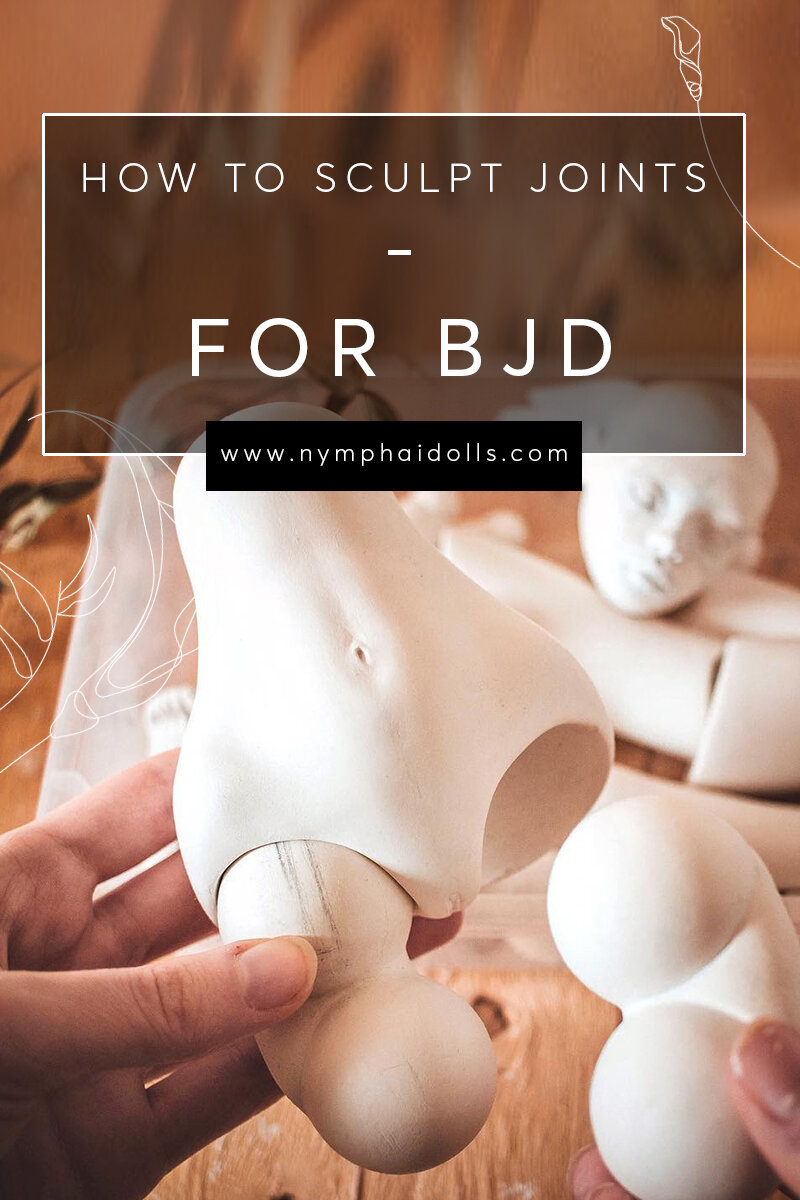
How to sculpt joints for ball-jointed dolls?
It doesn’t matter if you’re just a beginner or experienced artist, the biggest hassle in BJD making is always joints! The intricate system of ball-jointed dolls that fascinates every enthusiast, collector and artist. It used to intimidate so much that I’ve postponed sculpting my first proper BJD for years. In this article, I want to unveil some of the mystery behind designing and sculpting joints for your dolls. Have in mind that this is just a short overview of quite a difficult subject so I won’t be able to provide step-by-step instructions. If you want robust and informative tutorials, consider joining my BJD sculpting masterclass that will walk you through the whole process of sculpting ball-jointed doll from scratch. Including joints!
Should you sculpt the balls yourself?
Usually, this question gets contradictory answers. Some artists prefer to sculpt the balls for joints themselves, others steer towards premade wooden balls. I can speak only from my own experience, and since I’ve tried both methods, sculpting your own balls from clay is more effective in the long run. Let me explain, for my first ball-jointed doll I went with wooden balls and regretted it completely. At the time, I thought I won’t be able to sculpt perfect clay balls, so I've used wooden balls from the craft store. While they worked pretty great and the clay stuck to them wonderfully, it was a nightmare to drill the wood and cut the slits for the elastic. The clay around these wooden balls was fairly fragile, so I had to make sure not to damage it while vigorously drilling and cutting the wooden parts. It took me a long time to finally achieve a good result. And in that time I probably would have sculpted my own perfect clay balls. Now, I’m always following this tutorial. It works out great every time.

Designing the joints
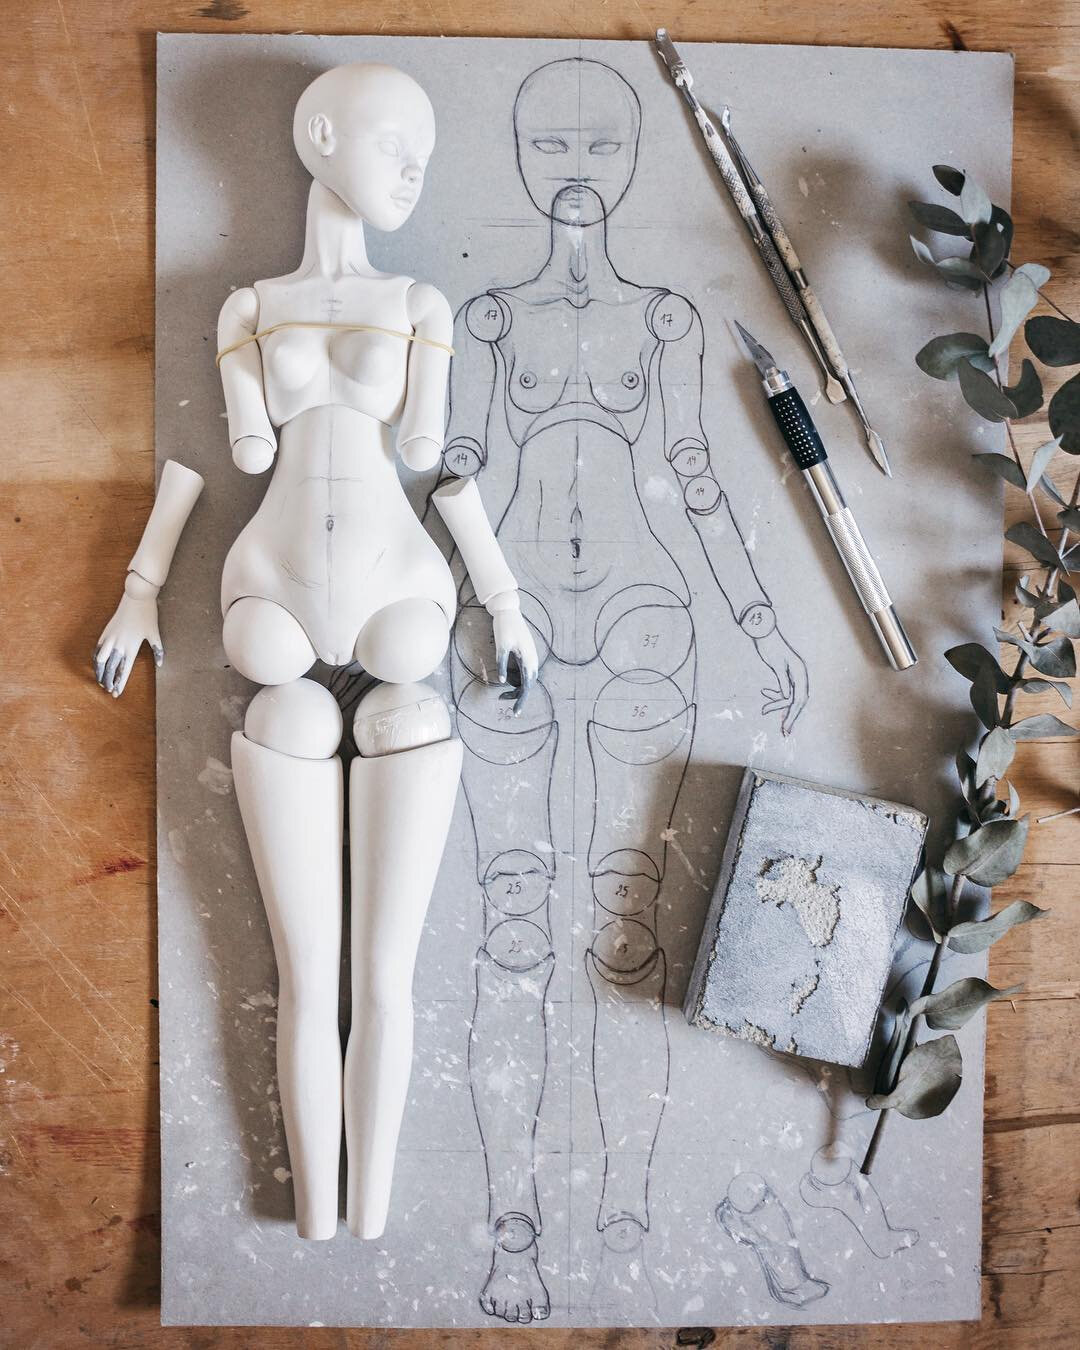
Always start with a blueprint! Figuring out what type of joints you want to sculpt is an essential first step. I’m a sucker for good poseability so I love making double-jointed dolls. They might look confusing at first, but once you understand the basic techniques it’s actually not that hard to sculpt them. When drawing the blueprint, I like to use the circle template that I’m using to shape the clay balls as well. If you feel overwhelmed by all the moving parts, you can mix the styles and make some of them single-ball joints and other double joints.
Putting it all together
Before starting to make joints, make sure that all the balls that you've made earlier are even, smooth and the correct size. To connect the balls for a double joint, I’m simply glueing them together with PVA glue. Once the glue has dried completely, insert this rough joint into the designated doll parts and mark the borders where they meet both pieces. These borders will serve as guidelines where you should place the clay and will determine the general shape of the joint.
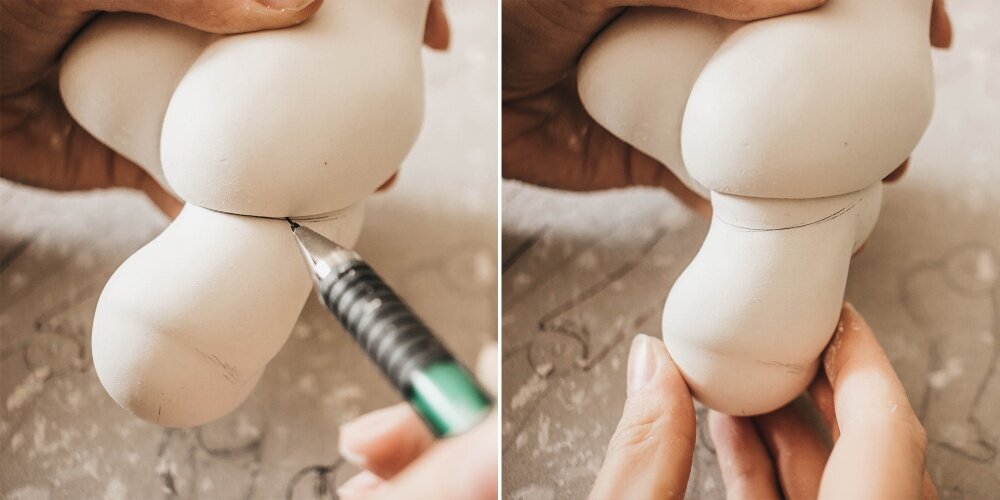
For the back part, draw two half circles. The front and back lines should meet on the side of the joint. If you're not sure if you draw this correctly, don't worry too much, you'll see if there are any issues when testing these joints later. Joint making really requires a lot of testing, carving and resculpting the same pieces many times, until you get it to work properly!

Once you have these guidelines, start adding the clay and constantly check how the joint fits the doll you’re making. If you want to see video tutorials and step-by-step guides for every specific joint, check out my BJD sculpting masterclass.
Detailing
Once you have the basic shape of the joint, now it's time to make small adjustments and see if it moves how it's supposed to. Also, detailing can be a very important part making the joints look cohesive and delicate. I like to find the balance between anatomically correct and visually pleasing detailing. My dolls always were the stylised versions of a human body, so I take anatomy as something I can mend, change and alter to my liking.

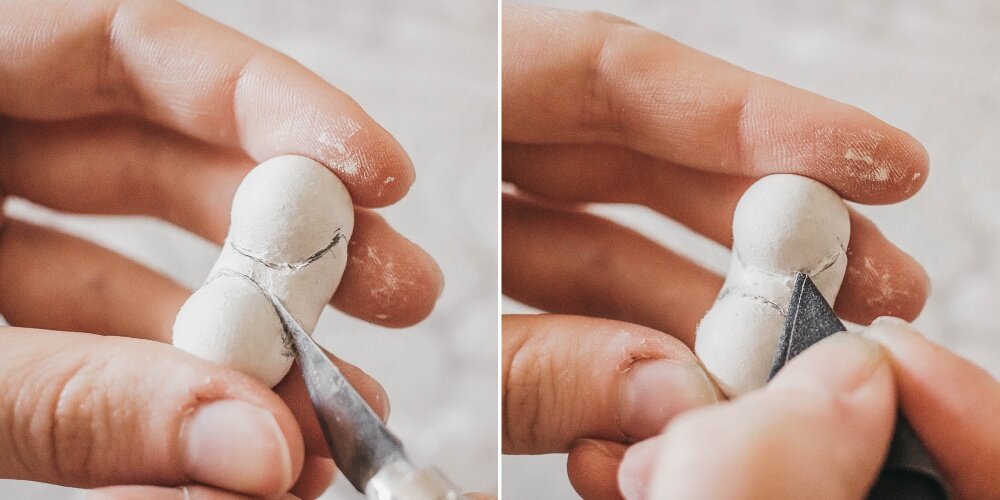
Before any detailing, I draw the guidelines where I’ll be putting the clay. Sculpting in small patches helps to achieve better results since you have more control while shaping the clay. Sanding is also a huge part of detailing the joint. Using a scalpel and a folded sanding paper, you can easily remove all imperfections.
I hope this overview was helpful and you have a better understanding of how to sculpt these intricate parts of ball-jointed dolls. Let me know if you have any questions in the comments section. Also, if you want to receive all the new articles and news about my dolls to your inbox, subscribe to the newsletter below!


SCULPTING A BJD: FINISHING TOUCHES
I’m continuing the series about sculpting your own BJD. With these articles, I want to shed some light on the long and difficult process of sculpting a ball-jointed doll. Even though ball-jointed dolls getting more and more popular each year, the information about how you could sculpt one is still scarce. In the previous articles we’ve already talked about the first steps and sculpting joints, now it’s time for my favourite part - finishing touches!